Stocking Up...
The rich colors and textures of last night's medley of vegetable scraps, brewing together in a pot inspired this post. Have you ever made vegetable stock? It's so simple! Almost a year ago, JP and I took a couple's cooking class at
Nourished Health Wellness Center in Denver, and we learned this simple way to use all the parts of our vegetables. Now, whenever I cut the tops and bottoms off of an onion, and peel its skins, I toss them all into a gallon-sized ziplock bag. The heads of carrots, ends of asparagus, insides of peppers, old garlic, extra greens and other common veggie discards that I used to toss into the trash, now all end up saved and stored in this bag. You'll find it full of bulging vegetable remnants in our freezer and easily accessible every time I chop produce for a salad or prepare a meal. And yesterday, I decided that this bag was plenty full, and therefore, time to make vegetable stock!
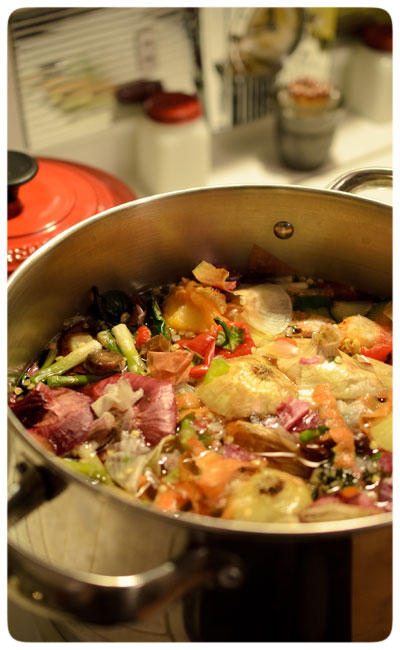
I poured its colorful contents into a big pot and filled it with water, submerging all the cuttings. I turned up the heat to high to promote a boil and to warm up all those frozen vegetable bits. Soon, tops of peppers, carrot trimmings, herbs and such began to glisten, and JP and I oooh'd and aaah'd at the variety of colors. Shortly after, out came the camera!
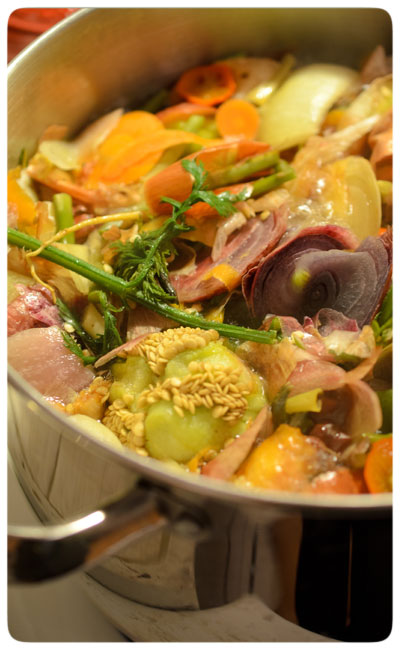
Looks yummy, doesn't it? And a hearty garden aroma began to fill the house... What a delightful scent on a cold, wintery night.
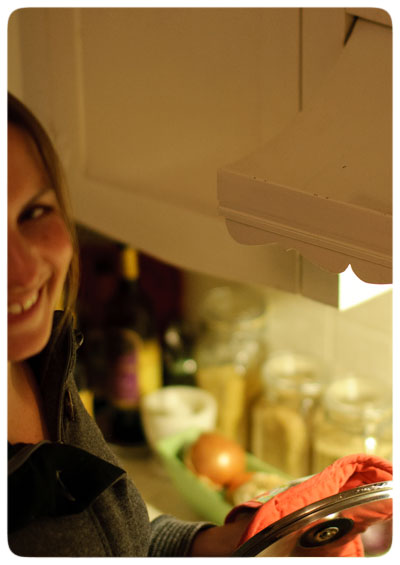
I love how the simple things in life can generate smiles and good times.... Clearly, making your own vegetable stock falls into this category ~ or at least it does for us!
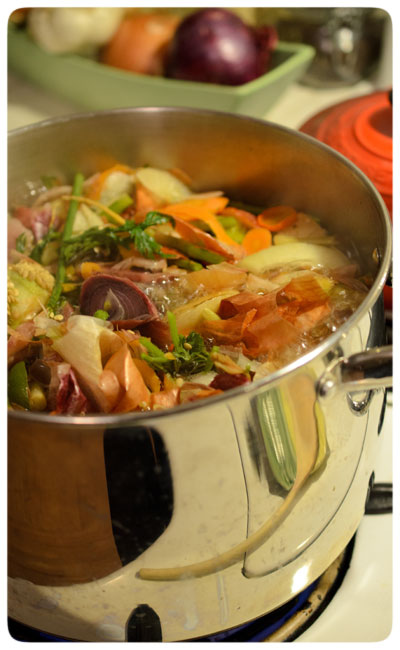
Finally, we had a rolling boil, bubbles and all! Then, I turned the heat down to a simmer, covered the pot and allowed the water and veggies to work their magic...
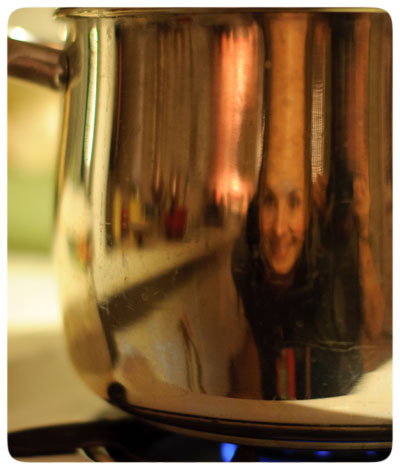
While we waited for the stock to form, we had a little fun! Is that really the reflection of me and JP peering back at us from the face of the stock pot? Hehehehe!
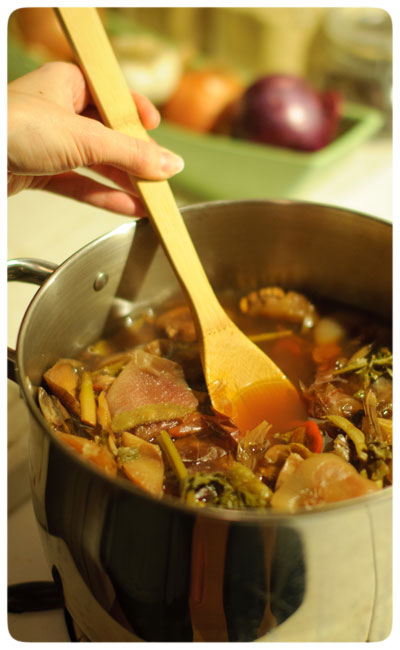
After about 3 hours or so of simmering, we lifted the lid to find a dark amber liquid had replaced the clear water from earlier. The vegetables were soft and muted, and the colors not so bright, but the stock was taking shape. A hearty smell of rich vegetables filled our nostrils ~ yum! I turned the heat off and located the heavy pot to an iron trivet for cooling.
Lastly, after a few minutes of straining out the vegetable remnants, we had ourselves a luscious vegetable stock. Measuring out 2 cups at a time, we poured the liquid into a series of quart-sized freeze-proof ziplock baggies. I recommend labeling the bags first with a quick note of contents and amounts before filling them. Once they are filled and zipped, laying & layering them in a large glass casserole dish is best and easier to separate once they are frozen. And yes, all go into the freezer and await for just the right time when you need a splash of stock for a stew, soup or whatever you feel like making. When that time arrives, just pull out a frozen stock bag, run it under warm water for a few seconds until you feel the
icy chunk dislodge. Then, just release it from the bag into a pot, warm it on your stove, add a little salt and pepper and enjoy your vegetable broth. Yield: 9 1/2 cups of veggie stock......Enjoy!
Happy cooking!
~ Johanna

I poured its colorful contents into a big pot and filled it with water, submerging all the cuttings. I turned up the heat to high to promote a boil and to warm up all those frozen vegetable bits. Soon, tops of peppers, carrot trimmings, herbs and such began to glisten, and JP and I oooh'd and aaah'd at the variety of colors. Shortly after, out came the camera!

Looks yummy, doesn't it? And a hearty garden aroma began to fill the house... What a delightful scent on a cold, wintery night.

I love how the simple things in life can generate smiles and good times.... Clearly, making your own vegetable stock falls into this category ~ or at least it does for us!

Finally, we had a rolling boil, bubbles and all! Then, I turned the heat down to a simmer, covered the pot and allowed the water and veggies to work their magic...

While we waited for the stock to form, we had a little fun! Is that really the reflection of me and JP peering back at us from the face of the stock pot? Hehehehe!

After about 3 hours or so of simmering, we lifted the lid to find a dark amber liquid had replaced the clear water from earlier. The vegetables were soft and muted, and the colors not so bright, but the stock was taking shape. A hearty smell of rich vegetables filled our nostrils ~ yum! I turned the heat off and located the heavy pot to an iron trivet for cooling.
Lastly, after a few minutes of straining out the vegetable remnants, we had ourselves a luscious vegetable stock. Measuring out 2 cups at a time, we poured the liquid into a series of quart-sized freeze-proof ziplock baggies. I recommend labeling the bags first with a quick note of contents and amounts before filling them. Once they are filled and zipped, laying & layering them in a large glass casserole dish is best and easier to separate once they are frozen. And yes, all go into the freezer and await for just the right time when you need a splash of stock for a stew, soup or whatever you feel like making. When that time arrives, just pull out a frozen stock bag, run it under warm water for a few seconds until you feel the
icy chunk dislodge. Then, just release it from the bag into a pot, warm it on your stove, add a little salt and pepper and enjoy your vegetable broth. Yield: 9 1/2 cups of veggie stock......Enjoy!
Happy cooking!
~ Johanna