New Carnival Cottage Halloween Sample Sneak Peek!

Happy Friday Friends! So, what ya think? Would you like to add some of these whimsical pieces to your Halloween decor & festivities? It’s Johanna Parker here, and Today we’re sharing our Sneak Peek at the Sample Phase of our Carnival Cottage design process. From sketch to development and now full form, it’s a treat to see those early scribbles and mock-ups come to life! Included is a new series of stand-alone ceramic designs that also add variety when paired with our figural items. You’ll see that the canisters, bowls, mugs and such can be rotated for a playful, pattern-only look too. The coordinating party, bakeware and garden items extend the collection and bring many more possibilities into the mix. Your feedback is key as we gauge interest for Halloween 2023. Please spread the word and let us know!! Be sure to share a like, a comment and thank you for your interest! :)

Thank you!

~ Johanna

Carnival Cottage ~ Halloween Product Development

Hello Again!

I’m sharing a peek at the various steps I take with our Creative Carnival Cottage Team to turn ideas into potential products! From sketch to illustration and template creation to clay art direction, the process is a test of patience, but one, well worth the wait! I work with a team of skilled graphic designers and creative directors who help design and arrange my illustrations for print and who also prepare my concepts for the sculpture artists who manifest our designs into form. To get a feel for the product shapes, I often print the team's templates to check alignment and fine-tune design details. Hence all the paper print-outs in this video! Enjoy this glimpse at some back and forth visuals, exchanged between these creatives to build the prototypes, inspired from rough sketches, previously shared. Be sure to share a like, a comment and follow along f you’d like to see the finished results! Thank you for your interest in our process!

Cheers,

~ Johanna

It all Starts with a Sketch!

Hello Friends!

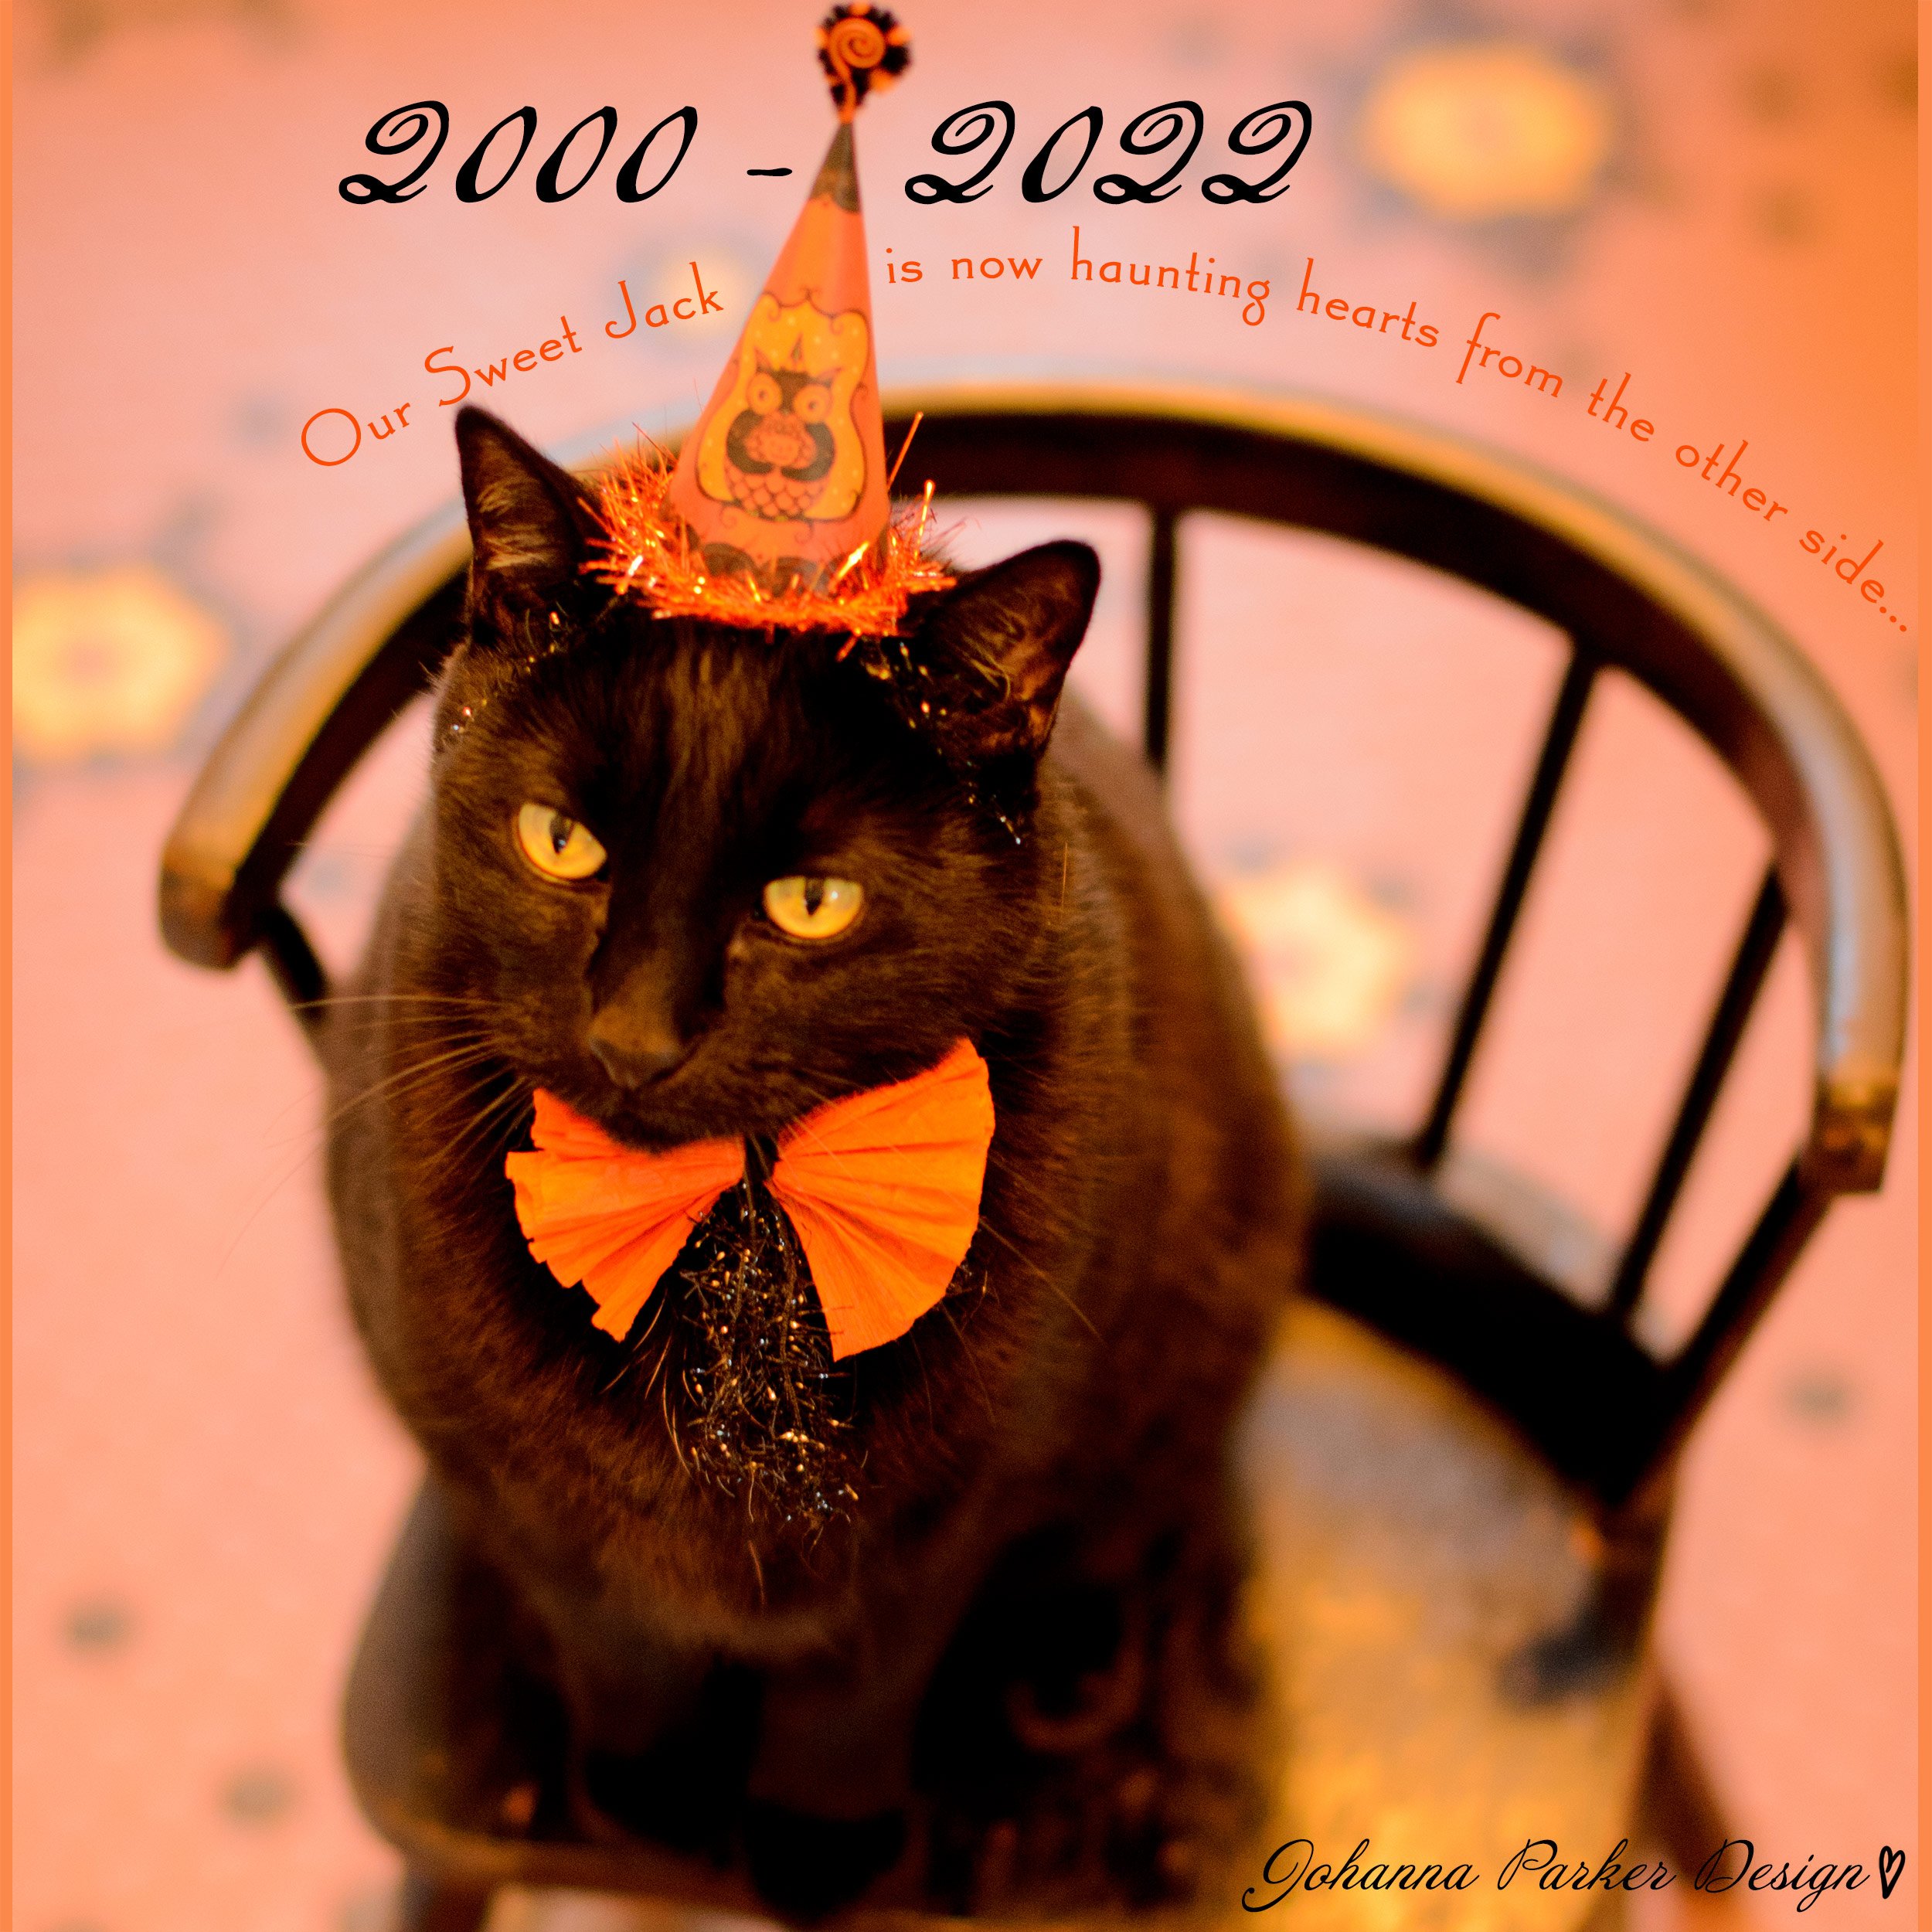
It’s been a long while since I’ve added a post to my blog. But, Jack, if he were here, would meow, purr, share a few nose-bumps and encourage me to share! With that, it’s no time like the present to return and share what I’ve been creating…..

You’re in for a Treat! I’m taking you behind the scenes for a peek at my creative process, designing new product concepts for Carnival Cottage! Be sure to share a like and leave a comment if you’d like to see more! Truly, it all starts with a sketch! More to come….

Happy Haunting,

~ Johanna

Enjoy a behind the scene peek as licensed designer Johanna Parker sketches character concepts for Carnival Cottage Halloween products.

FUN with Spoonflower's Fill-A-Yard!

Hello Friends! It’s been ages since I blogged, and now I remember why…. It takes forever to put together an informative post!… From the planning and photography, to the text and editing, yes, it’s a long process, especially for someone who has an endless to-do list.. But, this feature article has been brewing in my mind for several months now, so it’s time to make the time to share and inspire!

As many of you you know, I have a Spoonflower Shop with a growing collection of fabric designs. We really love this source as our Go-To for very unique prints, catered to whatever quantities and fabric types desired. Recently, I started playing with Spoonflower’s new “Fill-A-Yard” feature, and I LOVE it! As a designer, it’s a great way to order my samples in various sizes. This way, I can proof the colors and check the repeats at the block size of my choosing….

Here’s a portion of my most recent designs on a “Fill-A-Project.” (…and yes, I’m standing in our bathroom because the lighting was just right!) Out of several different templates, Spoonflower’s “One Yard Cheater Quilt” option was my choice for this order, and I filled it up with a medley of new designs. I chose to print on their new Petal Signature Cotton, and the results are crisp and the colors, accurate! Yay!!… I plan to cut these swatches apart and photograph them by theme.

Another idea for a “Fill-A-Project” is to arrange matching prints in a coordinating motif. You can alternate designs in a playful checkerboard pattern or scatter a medley of styles into various sized blocks. With this particular template, you can print up to 42 designs in each 6” square. Or, choose to allow some surrounding squares to extend your favorite patterns into larger areas. Arrange them as you wish, place your order and then Quilt it! That’s why they call this one the Cheater Quilt!

The key to a great “Fill-A-Yard” project is to Create a Collection FIRST! Choose from any of my existing Designed Collections, or curate your own from the various designs in my Spoonflower Shop or search Spoonflower’s vast website for something specific and mix and match. Then, choose your Project Template and start arranging your design. It’s that easy…

Screen Captured Example:

I communicate best through images, and hence, visual aids are key. Above is a screen capture of a work-in-progress Cheater Quilt project. At right, is the “Pink Halloween” Collection that I chose to source this particular project from. At left, is the quilt template. Simply click and highlight a specific design from the collection at right, and then click a block on the quilt. From there, arrange and fill it up! …What FUN!

My first “Fill-A-Yard” order was back in early February. I needed to order proofs of my latest Valentines-themed designs, but I also had a No-Sew project in mind. So, I combined those to-do’s into one yard! You can see my V-Day & holiday print blocks covering half of this yard, and my aqua cherry print running along the other side of the yard’s length for my No-Sew experiment. Enjoy Before and After photos below of how that idea turned out!…. (Notice how excited Jack was!)

Here’s what I meant by “cutting the yard up into swatches” for photography. How fun are these playful folk art snowman prints?! I hand-painted these guys during the holidays, and then created the repeat in photoshop. I asked our friends on Instagram what color combos they preferred, and based on popularity, we added all 3! We always appreciate the feedback :) You can click on all of these photos for a larger view…

Again, here are more matching swatches, grouped together in a Valentine’s motif, all cut from my initial Fill-A-Project. Again, I was able to create the block sizes of my choosing. Photos of the actual prints are helpful to communicate the fabric color, texture and quality….

As for the No-Sew Project, we recently mounted some work lights above my studio workbench. JP found these great vintage aluminum brackets, just perfect for the space. But, the unsightly black cords were, well, just that. So, my solution is often “fabric to the rescue!” That’s been one of my Go-To, Fix-It solutions for many years! Just cover anything unsightly with attractive fabric!

Back in the 80s when I was just a kiddo, my mom and I would tear fabric into long strips. We’d wrap all sorts of stuff to create rag baskets, rag balls, rag necklaces and the list goes on. You could say that were very raggedy back then! :) Recently, visions of those rags resurfaced, and that’s when I picked a playful print from my Spoonflower Shop, and added it lengthwise across a portion of my fabric order, with visions of rags in mind….

Here’s the before photo of my “Cherries and Dots on Aqua” fabric…

A few quick pencil tick lines, spaced one inch apart, helped me layout my strips..

Just a snip and a rip at each tick mark, and soon enough, I had a series of long bandage-like strips to start the mummy wrap!


BEFORE, we see the contrasting black cord in all it’s bla bla bla boringness….

……and AFTER, we’ve got playful, colorful, swirling JPD Style!

Here’s a side by side…… The color and whimsical print just makes me giddy! While the boring black cord, just hurts my eyes. I prefer to customize my world with color and pattern whenever I can.. :)

That’s me, touching my mummified cord… And no worries, all of the wrapping efforts happened while “unplugged.”

BOOM! Instant style!…. Well, it took a couple hours and some pre-planning, but who’s counting? :)

Jack approved too! I like how the cords blend in more with my color palette and decor. Upon a closer inspection, you can enjoy the cherry patterns too… Fun from a distance and up close!

Well, I hope I offered a few tips and inspiration with these fun ways to order and play with Spoonflower’s unique fabric! The picture above is the other portion of my recent “Fill-A-Project” order. Yet another yard, it’s a medley of prints for my proofing and marketing. It includes a set of my new retro spring designs as well as last year’s Top #13 Cycling Challenge print and more folk art florals! Sure, it’s a hodge podge….. But, if I’m gonna cut it all up, who cares, right?

The ideas for Filling-A-Yard are endless, and I just wanted to share my excitement! If you have a project such as pillows, this is a great way to block out the alternating fabric for the fronts and backs and maybe add in some strips of blending prints for any trim work, playful patches or ruffles. Test it out, and see what creative ideas bubble up! You can thank me later… hehe!

PS: Share photos of your finished JPD-inspired projects so we can feature you in our Customer Gallery. Happy Sewing or in my case, No-Sewing!

ENJOY!

~ Johanna

Vintage Tuesdays

Let's face it ~ I LOVE Vintage things... The artistry of the past certainly intrigues me. People often ask what inspires my art, and although I don't keep a stack of old magazines and books on hand from the 1930s, I do seem to easily tap into the spirit of the Art Deco era. It's no wonder that I was drawn to our 1939 cottage home with its authentic archways, nooks, vintage stove and old fixtures. I don't belong in 2018 in a world of shiny, sharp-edged products and disturbing blue-lit screens. I love the amber lighting of the past and all the flowing lines and curves of the artistry that crafts-men and women poured into their work. You'll see these elements reflected in my folk art, over and over again. 

Our house is filled with many family mementos and vintage finds that I have collected along the way. Yes, dusting is a chore, and that doesn't happen as often as it should. But, I do love to surround myself with these delights. In honor of my passion for pieces of the past, I recently started a Vintage Tuesday feature on my Instagram page @jparkerdesign. Each Tuesday (time permitting) I'll post a little snippet of something timeworn in our home that brings delight to me. If you have an Instagram page, follow along and join in by posting photos too! Use the hashtag #VintageTuesday :-) I'll see you there! Happy Treasure hunting!

~ Johanna

Source: https://www.instagram.com/jparkerdesign/

Merry Christmas to you!

Wishing you and yours a very Merry Christmas! May it be purrrrrfect! ....Speaking of, Jack is back, donning his latest holiday fashion. I made an extra top hat this year, just for him. We borrowed the mini scarf from one of my snowmen, and voila!... You can also watch a fun animated time lapse from our holiday photoshoot on my Instagram page, HERE!  Enjoy!

Cheers,

~ Johanna, JP and Jack :-)

Christmas-Top-Hat-Jack-blog.jpg

Where Women Create Holiday Teaser...

Have you picked up a copy of the November 2017 / January 2018 issue of Where Women Create Magazine yet? If so, turn to page 70 for an 8-page article featuring Johanna Parker Design! We received the exciting news at the start of this year that we would be included in the holiday edition. Keeping in mind the release date, I quickly switched gears and made a collection of winter-themed originals to include in the mix. When summer rolled in, JP and I blocked out some time to take the photos of my studio space, and now we're in print! It's been a long time coming, and those that have acquired a copy to read my story will know why. We submitted plenty of photos for the editor to choose from, and obviously not all could make the cut. So, I am including several more here for you to enjoy! It's a beautiful magazine, so please keep an eye out for the issue on the stands or order yourself a copy directly from Where Women Create - HERE! Enjoy the peek into our home and my cozy sunroom studio space...

A sneak peek at my article intro includes me sitting at my drafting table where I illustrate…

This was the secondary portrait photo we took, showing me surrounded by my space

An old family shelf now houses both art supplies and one of a kind folk art pieces.

We enjoyed taking the photos for this article. I styled and composed most of the images and JP helped adjust the settings and played with the various camera and lens technicalities. In my opinion, it really does take a team...

This vignette shows a snapshot of various holiday art projects all grouped together. It's a fun mix of my printed graphics, rough pencil sketches, a painted art panel, pattern repeats and illustrated gift tags ~ All a variety of designs that I could easily delve into on any given day!

We chose this mischievous pair of holiday folk art characters, a rare, grinning red cat candy container and a standing snowman, to accompany me in my portrait.

A hand-me-down hoosier hutch from mom is now the keeper of art supplies, fabric swatches & collectibles that inspire new designs.

In the corner, the bare bones of an old lampshade offer easy hanging for a handful of my original ornament bell characters.

An original owl sculpture, perched atop a decorated ball, keeps watch over my studio space.

Like I say in my article, my sunroom studio space is by far my favorite. Even though I have been sculpting my folk art originals for well over a decade, I've only been crafting in this sunny room for a couple of years. Get the issue to read more about my journey through time to find the right inspired space for making my art.

A wall nook of my hanging aprons creates a soft backdrop for my jolly ball-shaped Santa and winter kitty ornament bell. 

A closer peek at my shelf reveals a sweet penguin kettle cup and an owl ornament bell. Everything from feathers to vintage pottery and glassware add functionality and design inspiration to where I sit to sculpt and paint.

Paintbrushes and pens surround a sweet Santa egg cup character.

I'd be remiss not to include a holiday crossover or two in the mix. Here, a ghost of Christmas Past howls from the corner of the room. With a cobweb collar and holly-winged bats, the lines of Halloween and Christmas begin to blur....

A festive snowman egg cup whistles a merry tune!

A jolly snowman head, donning an illustrated top hat, sports an enchanting smile.

Collectors interested in adopting some of the one of a kind pieces pictured here and within my magazine article are encouraged to Join our Mailing List for news and updates coming soon. We will be releasing pieces in a couple different ways during the month of December. At random, collectors will be able to CATCH a special one of a kind, directly from our website. And, we will also be hosting a few select auctions, again here on our site, and accepting your best offers. Stay tuned for more information once we finalize the details.. 

Many thanks to Where Women Create for including us in their current edition! I am honored to be included amongst a medley of talented artisans. It's a joy to realize a dream, and we appreciate our friends at WWC for supporting that vision. 

Now, go get a copy!

Merry Christmas & Happy Holidays...

~ Johanna, JP and Jack


A Glimpse at the Glens Art Walk...

I have been waiting for this moment to add a hearty blog post, chock-full of Halloween eye candy! As it turns out, the 3rd Annual Glens Art Walk is just the subject matter for this playful scene. Many many thanks to ALL of you that joined us! From both near and quite far, we enjoyed your company, and it was a pleasure to bring smiles to so many faces! Many weeks led up to the unfolding of this special event, and we were graced with such a lovely fall day. Shoppers enjoyed the warmth of the sun and autumn's palette of changing leaves as they walked from one home to the next. JP and I are so thankful to our hosts, Robert Hickler & Ann Lederer for allowing us to perform our annual Halloween invasion. :) We hope it was a happy haunting! We took lots of photos this time around, and I am thrilled to have a place on our new website where I can share them in the format of my choosing. You can click on each picture for a light box view. Enjoy and do share your feedback too!

Yep, that's me striking a Halloween pose :)

I stuffed old tins, vintage pottery and baskets with my new ornaments!

A grinning black cat candy stand to go with your sweets!

Cubbies were lined with Halloween mugs, candy stands, shelf sitters, candles & other delights...

Frightful or Fun? Heads of Frankenstein, toothy-grinned Draculas, spooky black cats, mummies and owls were all there to tempt collectors of my vintage Halloween style!

A Halloween assault on the eyes! EEEK!

The old white shelves that house my originals here came with our 1939 home. It served as a double door to hold canned goods in our basement. Whomever made this years ago would be stunned to think an artist showcases her one of a kind folk art in each nook, but that's how I roll! I love it :)


I think this has been the busiest fall on record for our biz! In between a medley of photography requests for Artist Features as well as  Q & A's, responding to the influx of inquiries from our new website, (some of which I still need to tend to!) a mounting list of licensing deadlines, and many other distractions, I was really biting my nails over completing this year's collection of Halloween folk art originals in time for the show. I had to forego a few pieces that just weren't going to meet my timeframe. And, there were quite a few long days in the mix. But, in the end, I was able to complete 22! With a goal for 30+ sculptures, the shelves may look a little bare, so, bear with me :) We did what we could without completely losing our minds. But, I did come close a few times... Despite my Halloween-mania, I think this year's collection of one of a kinds turned out quite swell :) Farewell my little dears and enjoy your new adventures!

JP shares a smile at his new and improved check-out station! We had a nice tucked away space to process orders, store trays of reserved pieces and a wrapping station in the back. 

My displays were overflowing with all the latest characters that debuted this fall! We had a medley of Halloween ornaments, shelf sitters, ceramic plates, mugs, candy bowls, salt & pepper shakers and the list goes on! That's why I called it the Halloween invasion... 

The other white cubby shelf is a recycled find. We cleaned it up and for several years, it housed our collection of music CDs back before iTunes was a thing. Now, it's become basement storage, but it works just perfect for this event. We do shuffle a lot of stuff around when doing a show. For example, tins on my dresser that hold earrings and such, get to take the day off and display ornaments instead. Vintage lamps are pulled from their plugs and glow in another home! We also grab stools and carts that function for us at home and use them as props for Halloween. Needless to say, our house gets a little stripped when we do the big move, but it's an excuse to dust and clean before it all gets put back! And, we're only carting these goods just a few blocks away. Love the ease of that!

An old suitcase reveals my embroidered punkin peep guest towels, a stack of illustrated plates and candy bowls!

Glass candy jars with candy corn pair sweetly with their shelf sitter buddies...

BOO! My meringue-topped ghosts in various shapes and forms have been a popular fave with this collection...

Beyond my spooky display, an open door lead the way to Ann's colorful painted silks...

Across the way, Robert and Ann gave us a portion of their front window to share some Halloween magic. You can see that Robert jumped into the Halloween spirit and made some metal spider webs and skulls.. It's contagious!

Another peek at my front nook....

Approaching visitors were greeted with Robert's contemporary wall art as well as our vintage wagon filled with harvest delights. My giant spiders brought some smiles too :) Later, Ann tucked in her silk laden dress form to complete the scene...

From spooky to sweet, Robert Hickler added a touch of Halloween to his metal cut-outs this year!


A place for bats and owls to take roost....

We had a steady flow of folks dropping in to see the various creations that we all had to offer. It was a perfect day for a walking tour!

Halloween collectors came in clusters to see the latest collection!

A variety of snowflakes, skulls & bats were scattered across Robert Hickler's table...

You can find a giant version of this sculpture by Robert Hickler in Fort Collins' Old Town Square, winning the People's Choice Award!

You can enjoy more of Robert Hickler's portfolio on his website. He has been very  busy in his shop making all sorts of magic, including large scale installations for various public places. The mantel guitar sculpture was quite the marvel, and Robert will do commissions at various scales. 

The hue happy colors of Robert's contemporary sculptures, marry nicely with his wife Ann Lederer's hand-painted silk scarves. Beautiful patterns and floral whimsies by Ann were displayed on racks in their back sunroom...

Ann Lederer points out her handmade cards while an attendee caresses her lavender-filled eye pillow, all made of painted silk. They smelled divine too...

Their back sunroom proved to be the perfect spot to highlight Ann's colorful work, capturing the light!

More captivating hand-painted silk scarves by Ann Lederer greeted guests upon entering her space...

More captivating hand-painted silk scarves by Ann Lederer greeted guests upon entering her space... Ann does not have a website, but you can reach her by EMAIL, and yes, she does all sorts of commissions, specializing in Prayer Shawls, Challah Covers, Huppahs as well as many other special occasion painted silks for all walks of life.

Year 3 at the Glens Art Walk was a charm! Thank you ALL that attended and came out to support our creative endeavors! We enjoyed seeing you! 

At the end of the day, JP played a little air guitar for all of us on one of Robert's sculptures! Teehee! We hope you enjoy the photos! Mark your calendar for 2018 - When the first Saturday of October rolls in, we will roll it out again :)

Happy Haunting,

~ Johanna